Rear Glass Replacement Process: What You Need to Know
The Rear Glass Replacement Process Explained
A cracked or shattered rear glass can be both an eyesore and a safety hazard for vehicle owners. Whether caused by a stray rock, collision, or other external impacts, a damaged rear windshield requires prompt attention. Replacing rear glass is a specialized process that ensures the safety, integrity, and appearance of your vehicle are restored. If you’re considering a replacement or curious about what the process entails, here’s an overview of the typical rear glass replacement process and key points to keep in mind.
Why Rear Glass Replacement Is Important
The rear windshield serves several crucial functions aside from protecting passengers from outside elements. It supports the structural integrity of your vehicle, maintains the proper operation of safety features such as rear defrosters, and in many cases, houses the backup camera or antenna. Ignoring damage can lead to increased risks of injury, further vehicle misalignment, or malfunctioning safety systems. Therefore, timely replacement is essential when the glass is compromised.
Signs You Need Rear Glass Replacement
- Visible Cracks or Shattering: Small chips can sometimes be repaired, but large cracks or shattered glass typically require full replacement.
- Obstructed Visibility: Damage that impairs the driver’s ability to see clearly through the glass poses safety risks.
- Water Leaks: Damaged seals around the rear glass may allow water to leak in, leading to interior damage.
- Warning Alerts: Some vehicles detect issues with rearview cameras or defrosters. If those are compromised, you may need glass replacement.
The Replacement Process
The process of replacing rear glass involves several carefully coordinated steps. While it may vary slightly depending on the vehicle’s make and model, the general procedure includes:
1. Inspection and Assessment
A professional technician begins by inspecting the damage and evaluating the best course of action. This includes assessing whether a repair is possible or if a full replacement is needed. For extensive damage or shattered glass, replacement is the standard recommendation.
2. Preparation
Before removal, the technician prepares the vehicle by covering the surrounding areas to prevent damage and ensure safety. They also gather the necessary tools, adhesives, and new glass.
3. Removing the Old Glass
Using specialized tools, the technician carefully cuts through the adhesive holding the current rear glass in place. This step must be performed precisely to avoid damaging the vehicle’s body or interior components. For vehicles with embedded antennas or defrosters, additional care is taken to disconnect wiring safely.
4. Cleaning and Surface Prep
Once the old glass is removed, the technician thoroughly cleans the bonding surface area. Any remaining adhesive residue is removed to ensure a secure fit and proper sealing with new adhesive.
5. Applying New Adhesive
A high-quality, automotive-grade adhesive or urethane sealant is applied evenly along the edges of the new rear glass. Proper application is critical for safe and durable installation, preventing leaks and ensuring the glass adheres firmly.
6. Installing the New Rear Glass
The new glass is carefully placed onto the vehicle with precise alignment, ensuring it fits flush and is centered. The technician presses the glass into the adhesive, often using suction cups and support tools to hold the glass in position as the adhesive cures.
7. Curing Period
After installation, the adhesive needs time to cure and reach maximum strength. This curing period varies by product but generally lasts several hours. During this time, the vehicle may be kept stationary to prevent movement or stress on the new glass.
Post-Installation Tips and Care
Once the replacement is complete and the adhesive has cured, there are a few precautions to consider:
- Avoid washing the vehicle or exposing it to heavy rain for at least 24–48 hours.
- Refrain from parking in direct sunlight for extended periods during curing.
- Check for any leaks or gaps around the new glass during the first few days.
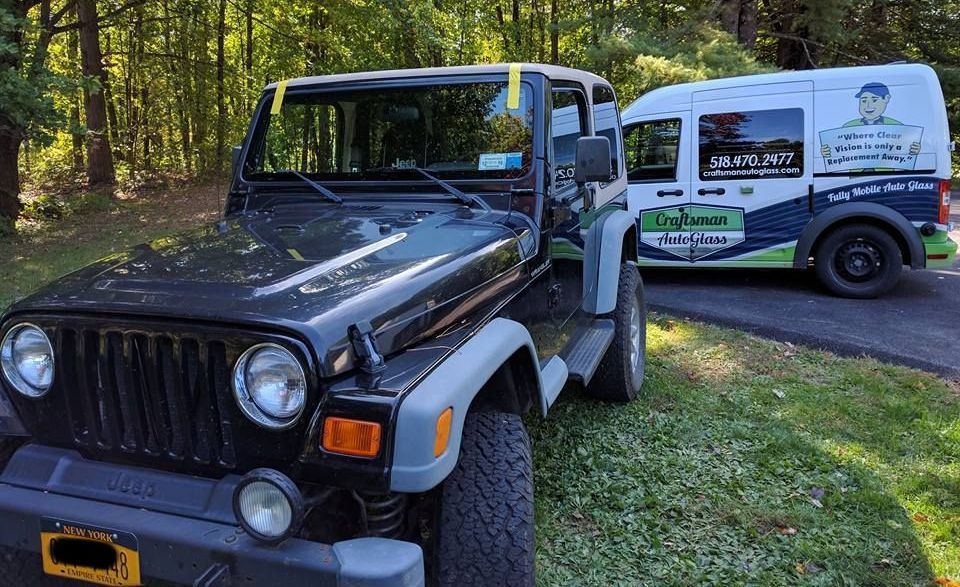
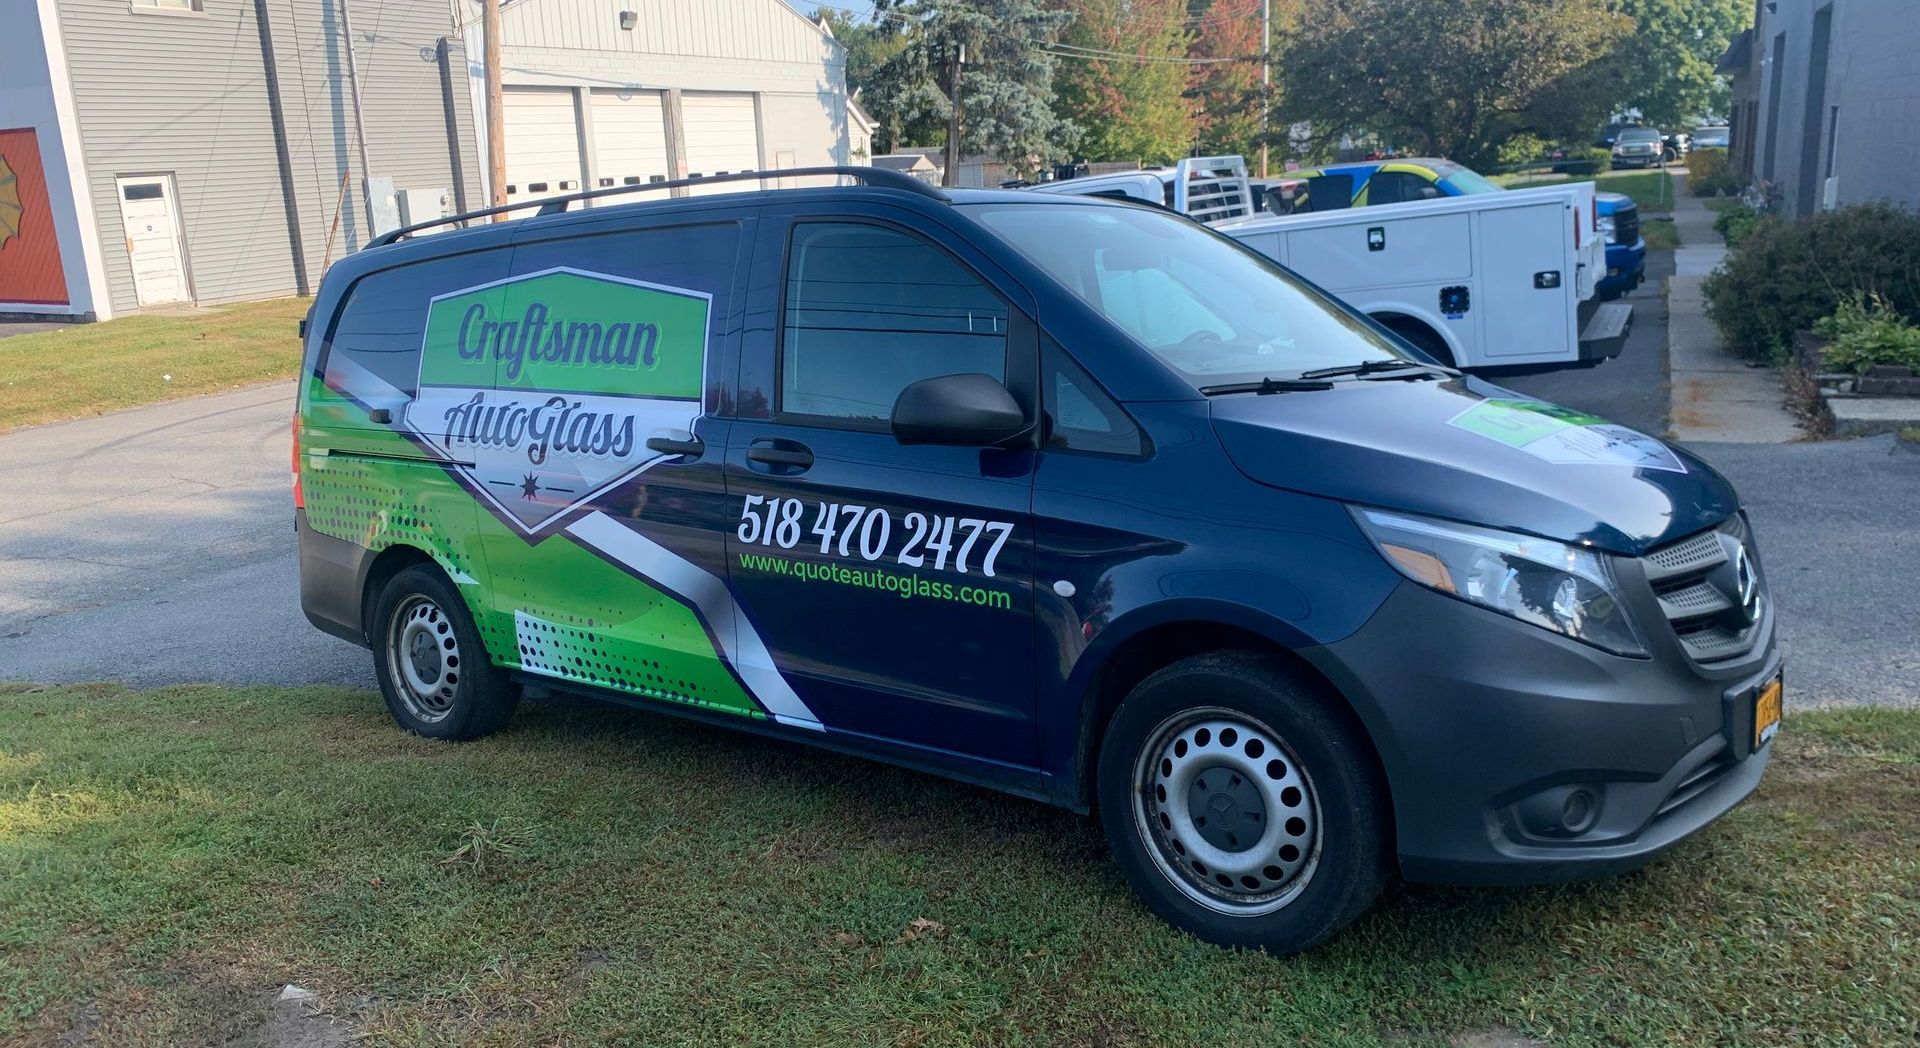
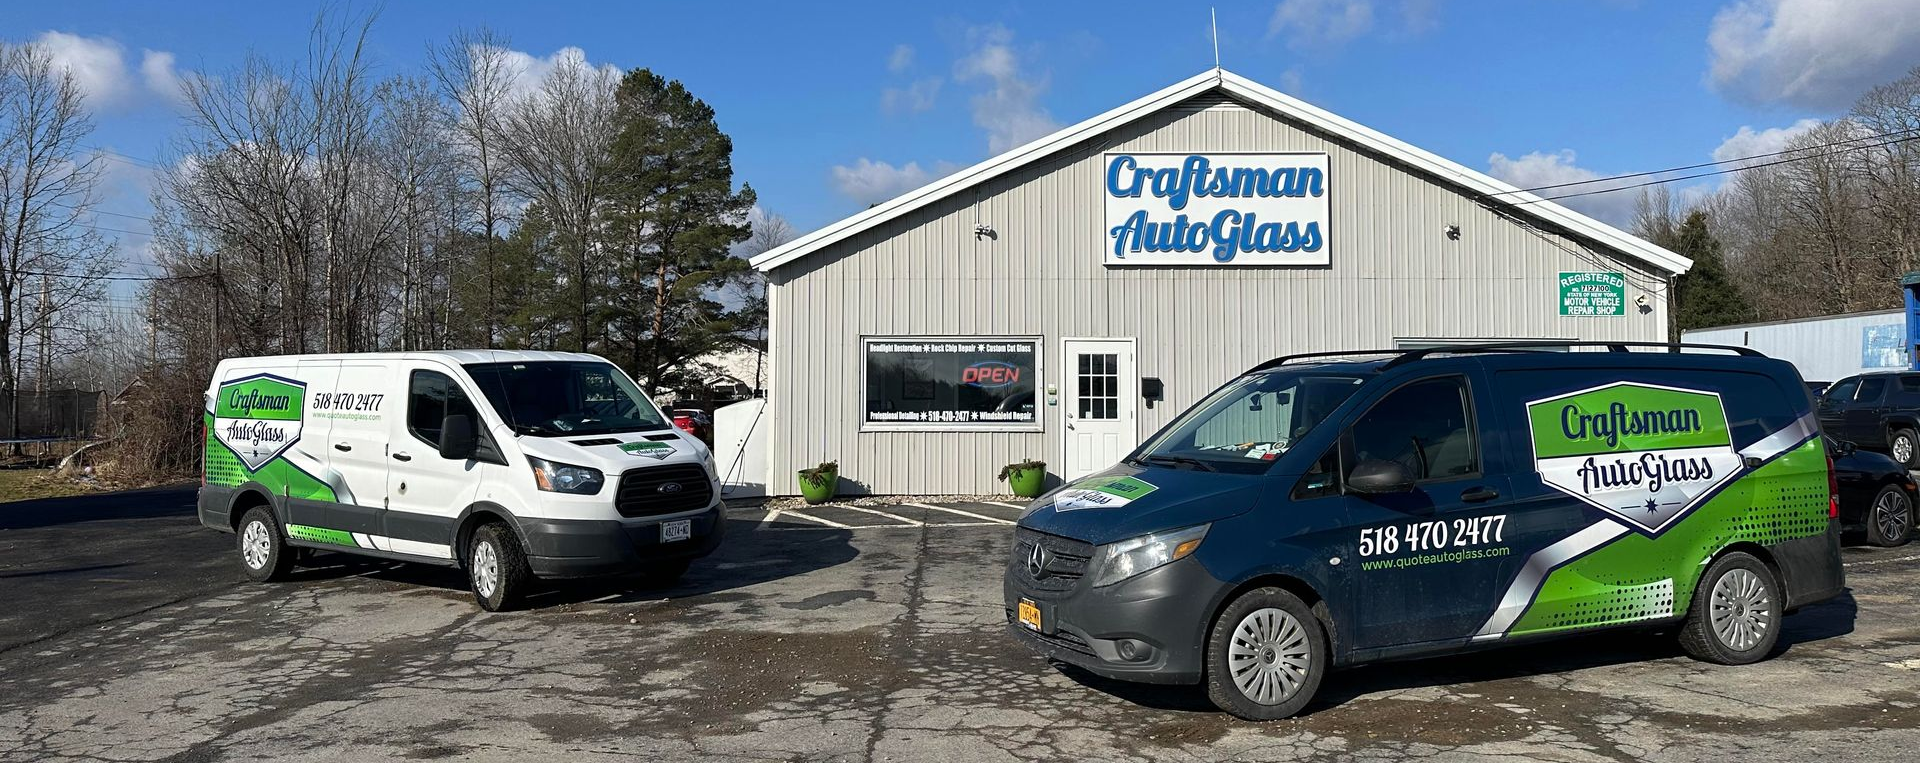
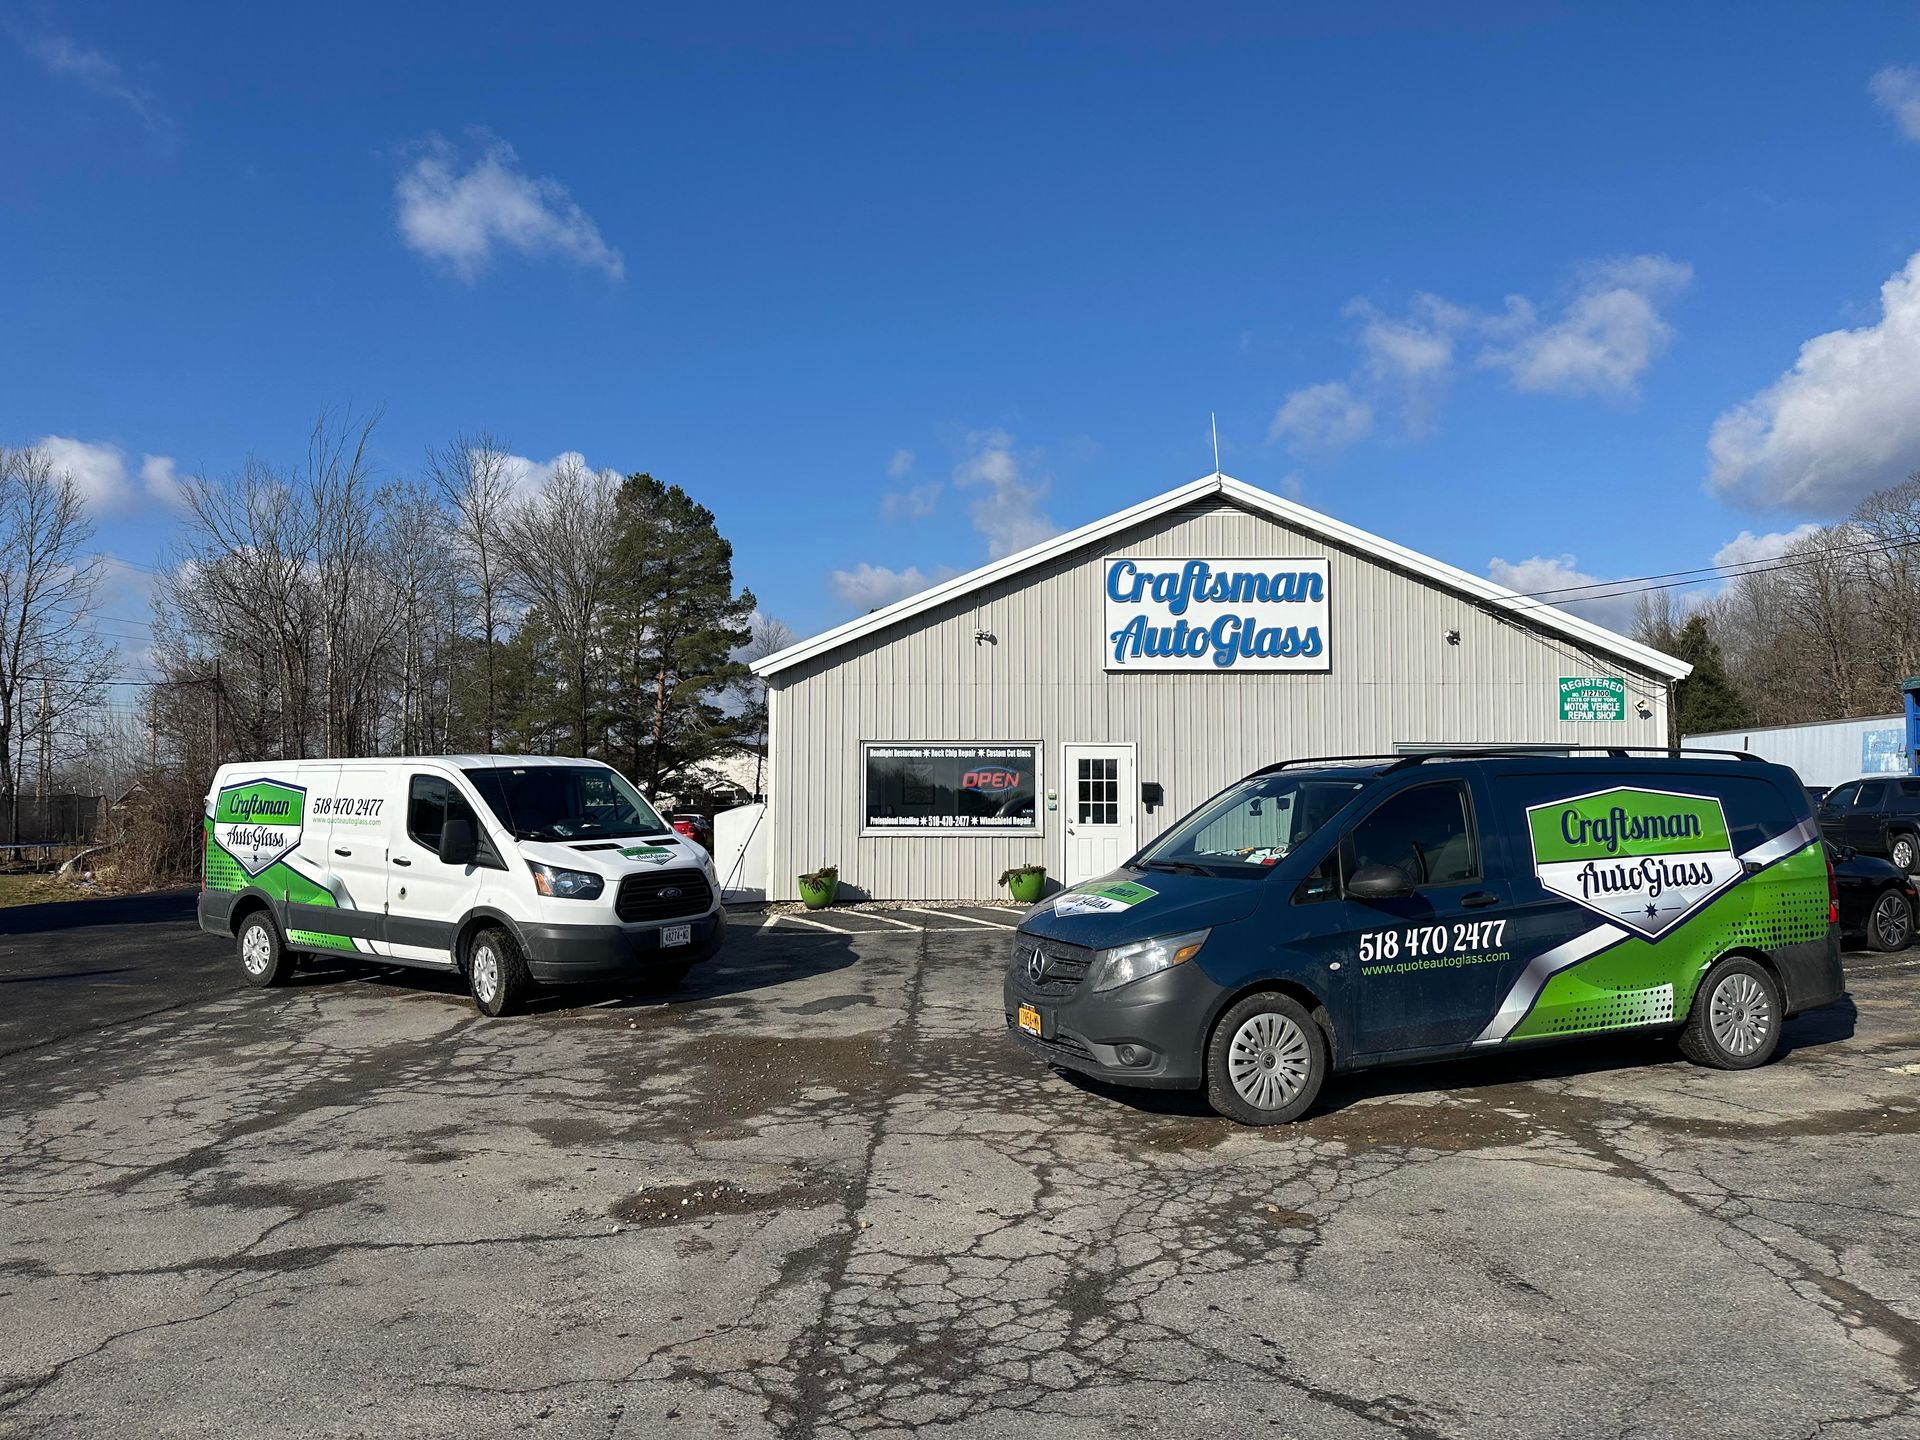
Does Your Vehicle Have Rear Glass Damage in the Amsterdam, NY Area?
If your vehicle is suffering from rear glass damage, and you live or work in
Cobleskill,
Rock City Falls,
Saratoga Springs, or
Albany, NY,
contact us at Craftsman Auto Glass. We deliver expert
auto glass repair and replacement services to the entire Capital Region.